The main types of chocolate are white chocolate, milk chocolate, semisweet chocolate, bittersweet chocolate and unsweetened chocolate. These types of chocolate may be produced with ordinary cacao beans (mass-produced and cheap) or specialty cacao beans (aromatic and expensive) or a mixture of these two types. The composition of the mixture, origin of cacao beans, the treatment and roasting of beans, and the types and amounts of additives used will significantly affect the flavor and the price of the final chocolate.
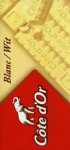
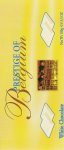
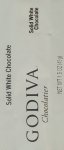
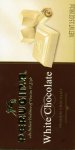
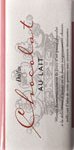
White chocolate
Chocolate made with cocoa butter, sugar, milk, emulsifier, vanilla and sometimes other flavorings. It does not contain any non-fat ingredients from the cacao bean and has therefore an off-white color. In some countries white chocolate cannot be called 'chocolate' because of the low content of cocoa solids. It has a mild and pleasant flavor and can be used to make Chocolate Mousse, Panna Cotta and other desserts.
Some brands from around the world:


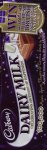
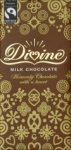
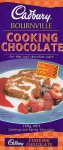
Milk chocolate
Sweet chocolate which normally contains 10-20% cocoa solids (which includes cocoa and cocoa butter) and more than 12% milk solids. It is seldom used for baking, except for cookies.
Some brands from around the world:


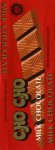
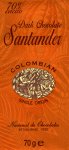
Dark chocolate
Sweetened chocolate with high content of cocoa solids and no or very little milk, it may contain up to 12% milk solids. Dark chocolate can either be sweet, semi-sweet, bittersweet or unsweetened. If a recipe specifies 'dark chocolate' you should first try semi-sweet dark chocolate.
Sweet dark chocolate
Similar to semi-sweet chocolate, it is not always possible to distinguish between the flavor of sweet and semi-sweet chocolate. If a recipe asks for sweet dark chocolate you may also use semi-sweet chocolate. Contains often 35-45% cocoa solids.
Semi-sweet chocolate
This is the classic dark baking chocolate which can be purchased in most grocery stores. It is frequently used for cakes, cookies and brownies. Can be used instead of sweet dark chocolate. It has a good, sweet flavor. Contains often 40-62% cocoa solids.
Some examples:


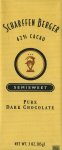
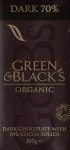
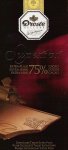
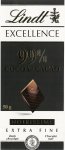
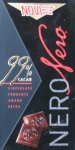
Bittersweet chocolate
A dark sweetened chocolate which must contain at least 35% cocoa solids. Good quality bittersweet chocolate usually contains 60% to 85% cocoa solids depending on brand. If the content of cocoa solids is high the content of sugar is low, giving a rich, intense and more or less bitter chocolate flavor. Bittersweet chocolate is often used for baking/cooking. If a recipe specifies bittersweet chocolate do not substitute with semi-sweet or sweet chocolate. Please ensure that you buy the correct type! European types of bittersweet chocolate usually contains very large amounts of cocoa solids, and some of them have quite bitter taste.
Some examples:


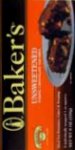
Unsweetened chocolate
A bitter chocolate which is only used for baking. The flavor is not good, so it is not suitable for eating. Use it only if a recipe specifies 'unsweetened chocolate'. It contains almost 100% cocoa solids, about half of it might be fat (cocoa butter).
Some examples:

More information about chocolate types can be found at